Configuring Advanced Module Settings
How to configure the advanced module settings for the current module. This section allows users to set the pages this module is displayed on, configure module sharing, set start and end dates for a module and display a header and footer above and below the module content.
It allows modules to be displayed on multiple pages including the pages, or to only on newly added pages. content is shared therefore changes made on one instance of the module are reflected on all instances of the module. If the module is displayed on new pages, this doesn't affect the pages where it is already located. Once a module is set to display on all/new pages, any module settings changes will be reflected on all copies of the module. However, changes to module settings located on the Settings tab are unique to the module that was changed.
- Select
 Manage >
  Settings from the module actions menu.
- Select the Settings tab.
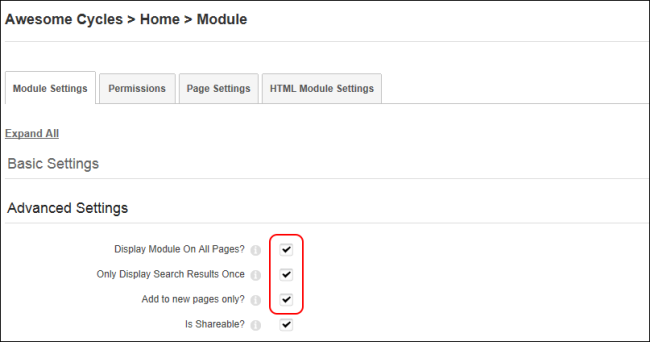
- Expand the Advanced Settings section.
- At Display On All Pages?, select from these options:
- Mark
 the check box to add this module to all pages. Note: Once this setting is updated users can delete a single instance of a module from any page and all other instances on other pages will remain and be unaffected. Enabling these setting, reveals two additional fields to customize this setting.
- At Only Display Search Results Once, mark the check box to display a single search results for all instances of this module - OR - unmark
 the check box to display the search results for each instance of this module. For example, if there are five instances of the module on the site and this field is unchecked, whenever a search is made, there will be five search results for the same content with each result going to a different module.
 - At Add To New Pages Only?, mark the check box to add this module to each new pages that is added to the site - OR - unmark the check box to add the module to both existing and new pages. This is the default setting.
- Unmark the check box to display this module on this page only. This will remove all other instances of this module apart from the one the user is currently working on. It doesn't matter which module is used to enable or disable this feature.
- At Is Shareable? select from these options to configure this settings:
- Mark the check box to allow this module to be shared. This allows the module to be displayed in the "Add Existing " list on the . For Evoq Content and Evoq Content Enterprise, this also allows modules that support module sharing to be shared with other sites that belong to the same Group. sharing between sites is available for modules that have been developed to support this feature. SuperUsers should set a module as supporting module share via the > page to remove the warning message that is displayed in the default configuration. See "Editing Module Settings"
- At View Only?, mark the check box if this module can only be edited via this site - OR - unmark the check box if this module can be edited from other sites that it is shared with.
- Unmark the check box if this module to disable module sharing for this module.

- At Hide Border, select from these options to set the visibility of the "Visible By Administrators Only" message. The message is displayed to Administrators and SuperUsers on modules which are only visible to Administrators. This message appears on the page where the module is located as well as on the Settings page for that module. This message is also displayed by default for any modules which are added to the pages.
- Mark the check box to hide the message. This will hide the message even if the module is only visible by administrators.
- Unmark the check box to display the message. This displays the message even if the module is only visible to members in the role (which by default includes all hosts).
- In the Header text box, add, edit or delete the header that is displayed above the module content. Plain text and basic such as headings, italic and bold can be used.
- In the Footer text box, add, edit or delete the footer that is displayed below the module content.
- At Start Date, click the Calendar
 button and select the first day that the module will be visible on the site. This displays the selected date along with the default time of 12:00 AM. To modify this default time, click the Time
 button and select a different time. Modules with a start date are only visible to Editors and Administrators prior to that date, enabling them to create content in advance. A " Effective - [start date]" message is displayed to these users prior to the start date.
- At End Date, click the Calendar button and then select the last day that the module will be visible on the site and then modify the time if required. When the end date and time is reached, the module is only visible to Editors and Administrators, enabling them to retain, edit and republish the content as desired. A " Expired [end date]" message is displayed to these users once the module has expired.

- Click the Update button.
Below are some examples of modules with some of these Advanced Settings applied.
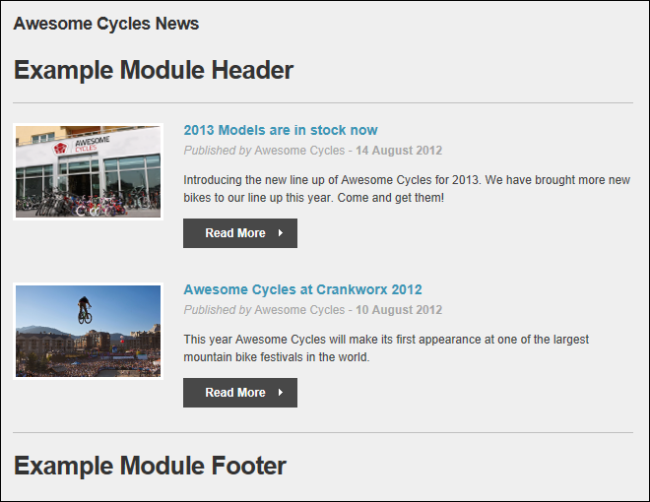
A module with a header and footer displayed above and below the module content
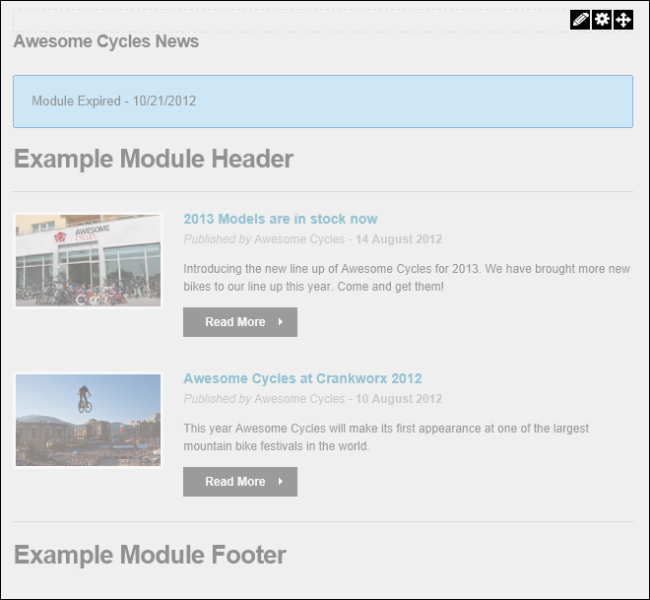
The Expired message that is displayed to Administrators once the module has expired.
Open topic with navigation